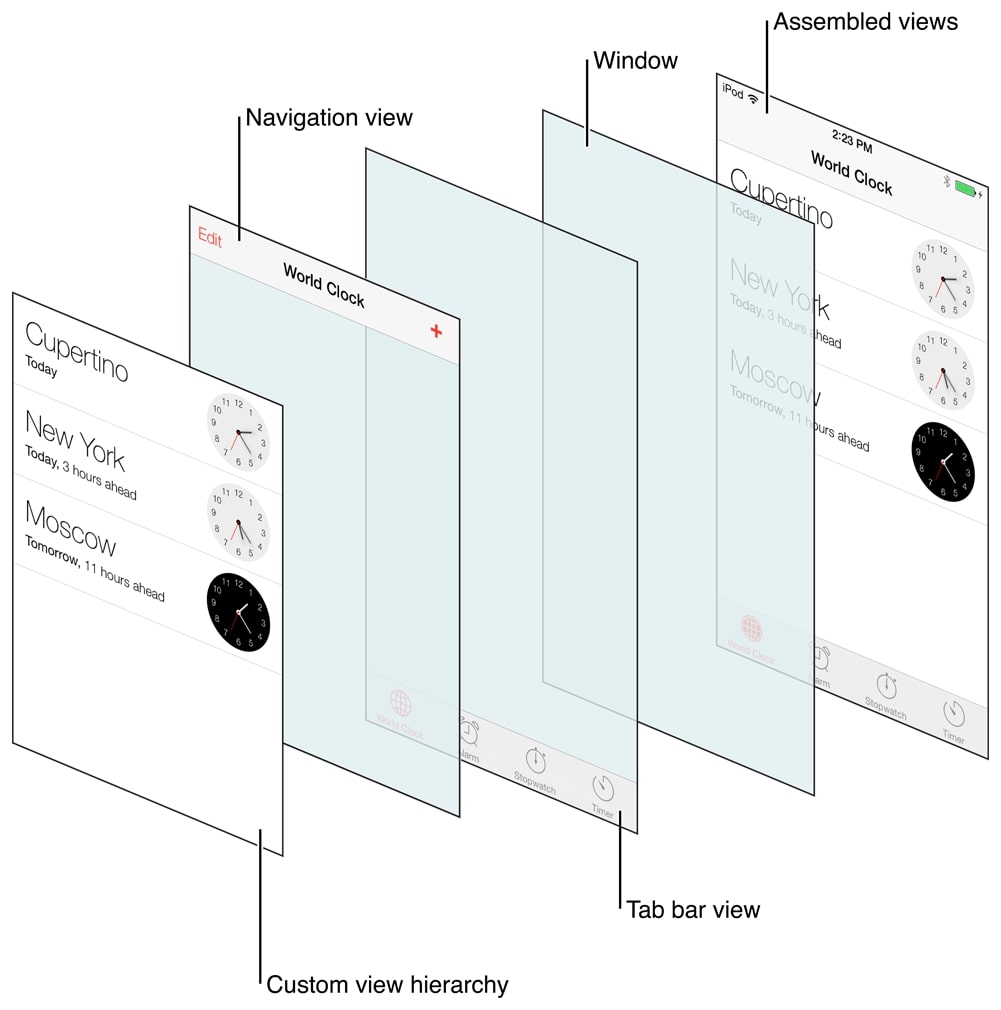
UIKit দিয়ে iOS মোবাইল অ্যাপ বানানোর সময় আমি সবসময় প্রোগ্রাম্যাটিক পদ্ধতির দিকেই ঝুঁকেছি। শুরুতে storyboard সুবিধাজনক মনে হলেও, এগুলো আমাকে প্রোগ্রামারের চেয়ে বেশি ডিজাইনারের মতো অনুভব করায়। তার ওপর স্কেলেবিলিটি আর রক্ষণাবেক্ষণের দিক থেকে আমি বারবার প্রোগ্রাম্যাটিক পদ্ধতিকেই ভালো পেয়েছি।
এই আর্টিকেলে আমি UIKit ব্যবহার করে navigation controller-এর সাথে মিলিয়ে একটি tab bar controller তৈরির প্রক্রিয়া বিস্তারিত বলব।
SceneDelegate সেটআপ করা
প্রোগ্রাম্যাটিক পদ্ধতি গ্রহণের প্রথম ধাপ হলো অ্যাপ্লিকেশনের রুট কোড পরিবর্তন করা। আমি একে “রুট” বলি, আর এটি আমাকে React/React Native-এর App.js বা index.js-এর কথা মনে করিয়ে দেয়। এটিই আমাদের অ্যাপ্লিকেশন বা scene-এর এন্ট্রি পয়েন্ট। iOS-এ SceneDelegate ক্লাসের ভেতরে একটি scene ফাংশন পাওয়া যায়, যেটি আমরা শুধু অ্যাপ্লিকেশনকে প্রোগ্রাম্যাটিক ডেভেলপমেন্টের জন্য কনফিগার করতে ব্যবহার করব।
নিচে SceneDelegate ক্লাসের ডিফল্ট গঠন দেওয়া হলো:
    import UIKit

    class SceneDelegate: UIResponder, UIWindowSceneDelegate {

      var window: UIWindow?


      func scene(_ scene: UIScene, willConnectTo session: UISceneSession, options connectionOptions: UIScene.ConnectionOptions) {
        // Use this method to optionally configure and attach the UIWindow `window` to the provided UIWindowScene `scene`.
        // If using a storyboard, the `window` property will automatically be initialized and attached to the scene.
        // This delegate does not imply the connecting scene or session are new (see `application:configurationForConnectingSceneSession` instead).
        guard let _ = (scene as? UIWindowScene) else { return }
      }

      func sceneDidDisconnect(_ scene: UIScene) {
        // Called as the scene is being released by the system.
        // This occurs shortly after the scene enters the background, or when its session is discarded.
        // Release any resources associated with this scene that can be re-created the next time the scene connects.
        // The scene may re-connect later, as its session was not necessarily discarded (see `application:didDiscardSceneSessions` instead).
      }

      func sceneDidBecomeActive(_ scene: UIScene) {
        // Called when the scene has moved from an inactive state to an active state.
        // Use this method to restart any tasks that were paused (or not yet started) when the scene was inactive.
      }

      func sceneWillResignActive(_ scene: UIScene) {
        // Called when the scene will move from an active state to an inactive state.
        // This may occur due to temporary interruptions (ex. an incoming phone call).
      }

      func sceneWillEnterForeground(_ scene: UIScene) {
        // Called as the scene transitions from the background to the foreground.
        // Use this method to undo the changes made on entering the background.
      }

      func sceneDidEnterBackground(_ scene: UIScene) {
        // Called as the scene transitions from the foreground to the background.
        // Use this method to save data, release shared resources, and store enough scene-specific state information
        // to restore the scene back to its current state.
      }
    }
আমরা শুধু নিচের ফাংশনটি আপডেট করব:
func scene(_ scene: UIScene, willConnectTo session: UISceneSession, options connectionOptions: UIScene.ConnectionOptions) {
    // Use this method to optionally configure and attach the UIWindow `window` to the provided UIWindowScene `scene`.
    // If using a storyboard, the `window` property will automatically be initialized and attached to the scene.
    // This delegate does not imply the connecting scene or session are new (see `application:configurationForConnectingSceneSession` instead).
    guard let _ = (scene as? UIWindowScene) else { return }
  }
SceneDelegate-এ scene ফাংশন আপডেট করা
নিচের কোড স্নিপেটে guard স্টেটমেন্ট দিয়ে আমরা নিরাপদে windowScene বের করে আনি। এরপর এই windowScene-কে window প্রপার্টিতে বসাই, যেটি SceneDelegate ক্লাসের ভেতরে ডিফাইন করা। সবশেষে makeKeyAndVisible মেথড কল করে window-টিকে key window বানাই।
var window: UIWindow?

func scene(\_ scene: UIScene, willConnectTo session: UISceneSession, options connectionOptions: UIScene.ConnectionOptions) {
guard let windowScene = (scene as? UIWindowScene) else { return }
window?.windowScene = windowScene
window?.makeKeyAndVisible()
}
এবার tab bar controller তৈরির দিকে মন দিই। এই controller আমাদের অ্যাপের প্রতিটি ট্যাবের view controller সামলাবে। যেমন, আমাদের যদি দুটি ট্যাব থাকে, তাহলে দুটি আলাদা navigation controller লাগবে। কিন্তু navigation controller কেন বেছে নিচ্ছি? কারণ আমরা প্রতিটি ট্যাবের ভেতরে নিজস্ব navigation controller রাখতে চাই। ধরুন “Profile” ট্যাব। প্রোফাইল স্ক্রিন হবে ওই ট্যাবের মূল ভিউ, কিন্তু ট্যাবের ভেতরে আরও কিছু ভিউ থাকতে পারে যেগুলোর মধ্যে আমরা নেভিগেট করতে চাই। তাই প্রতিটি ট্যাব আইটেমের জন্য navigation controller ব্যবহার করি। এগুলো একটি ট্যাবের ভেতরে বিভিন্ন view controller-এর মধ্যে মসৃণভাবে নেভিগেট করার প্রয়োজনীয় সুবিধা দেয়।
চলুন কোড লিখি!
 func scene(_ scene: UIScene, willConnectTo session: UISceneSession, options connectionOptions: UIScene.ConnectionOptions) {
    guard let windowScene = (scene as? UIWindowScene) else { return }
    window?.windowScene = windowScene
    window?.makeKeyAndVisible()

    let tabbar = UITabBarController()

    let firstVC = UINavigationController(rootViewController: ViewController())
    let secondVC = UINavigationController(rootViewController: SecondViewController())


    firstVC.tabBarItem = UITabBarItem(title: "Home", image: UIImage(systemName: "house"),selectedImage: UIImage(systemName: "house.fill"))

    secondVC.tabBarItem = UITabBarItem(title: "Profile", image: UIImage(systemName: "person"),selectedImage: UIImage(systemName: "person.fill"))

    tabbar.viewControllers = [firstVC, secondVC]

    window?.rootViewController = tabbar

  }
tab bar controller ইনিশিয়ালাইজ করার পরে আমরা দুটি navigation controller তৈরি করি, যেগুলো অ্যাপের দুটি ট্যাব আইটেমের সাথে মেলে। প্রথম view controller হলো ডিফল্টটি, আর দ্বিতীয়টি, অর্থাৎ SecondViewController, পরের অংশে দেখানো হবে। SecondViewController ডিফল্টটির মতোই একটি সাধারণ view controller।
ট্যাব আইটেম কনফিগার করতে আমরা UITabBarItem দিয়ে প্রতিটি navigation controller-এর tabItem প্রপার্টি সেট করি।
সবশেষে তৈরি করা view controller-গুলো tab bar controller-এর viewControllers প্রপার্টিতে বসাই।
আর সবচেয়ে গুরুত্বপূর্ণ ধাপ হলো window-এর rootViewController হিসেবে আমাদের tab bar controller সেট করা। এতে নিশ্চিত হয় যে tab bar এবং প্রতিটি ট্যাব আইটেমের ভেতরের navigation controller অ্যাপের হায়ারার্কির একদম শীর্ষে থাকবে।
View Controller-গুলো কাজ করছে
চলুন নিচে আমাদের ViewController ক্লাসটি দেখি:
class ViewController: UIViewController {

    override func viewDidLoad() {
      super.viewDidLoad()
      setupUI()
    }

    func setupUI(){
      view.backgroundColor = .white

      let homeLabel: UILabel = {
        let label = UILabel()
        label.text = "This is home screen"
        label.translatesAutoresizingMaskIntoConstraints = false
        return label
      }()

      let homeButton: UIButton = {
        let button = UIButton()
        button.setTitle("Go to profile", for: .normal)
        button.setTitleColor(.white, for: .normal)
        button.backgroundColor = .systemOrange
        button.translatesAutoresizingMaskIntoConstraints = false
        button.addTarget(self, action: #selector(goToProfile), for: .touchUpInside)
        return button
      }()

      view.addSubview(homeButton)
      view.addSubview(homeLabel)


      NSLayoutConstraint.activate([
        homeButton.bottomAnchor.constraint(equalTo: view.safeAreaLayoutGuide.bottomAnchor),
        homeButton.widthAnchor.constraint(equalTo: view.widthAnchor),
        homeButton.heightAnchor.constraint(equalToConstant: 72),
        homeLabel.centerXAnchor.constraint(equalTo: view.centerXAnchor),
        homeLabel.centerYAnchor.constraint(equalTo: view.centerYAnchor)
      ])

    }

    @objc func goToProfile(){
      tabBarController?.selectedIndex = 1
    }

}
আর SecondViewController (জানি, নামকরণটা বেশ দুর্বল হয়েছে…)

class SecondViewController: UIViewController {
override func viewDidLoad() {
super.viewDidLoad()
setupUI()
}

    func setupUI(){
      view.backgroundColor = .white

      let profileLabel: UILabel = {
        let label = UILabel()
        label.translatesAutoresizingMaskIntoConstraints = false
        label.text = "This is profile screen"
        return label
      }()

      let profileButton: UIButton = {
        let button = UIButton()
        button.setTitle("Go to home", for: .normal)
        button.setTitleColor(.white, for: .normal)
        button.backgroundColor = .systemOrange
        button.translatesAutoresizingMaskIntoConstraints = false
        button.addTarget(self, action: #selector(goToHome), for: .touchUpInside)
        return button
      }()

      view.addSubview(profileButton)
      view.addSubview(profileLabel)

      NSLayoutConstraint.activate([
        homeButton.bottomAnchor.constraint(equalTo: view.safeAreaLayoutGuide.bottomAnchor),
        homeButton.widthAnchor.constraint(equalTo: view.widthAnchor),
        homeButton.heightAnchor.constraint(equalToConstant: 72),
        homeLabel.centerXAnchor.constraint(equalTo: view.centerXAnchor),
        homeLabel.centerYAnchor.constraint(equalTo: view.centerYAnchor)
      ])

    }

    @objc func goToHome(){
      tabBarController?.selectedIndex = 0
    }

}
স্পষ্টতই কোডটি বেশ পুনরাবৃত্তিমূলক। তবে এই আর্টিকেলের উদ্দেশ্যে সেটি উপেক্ষা করা যায়।
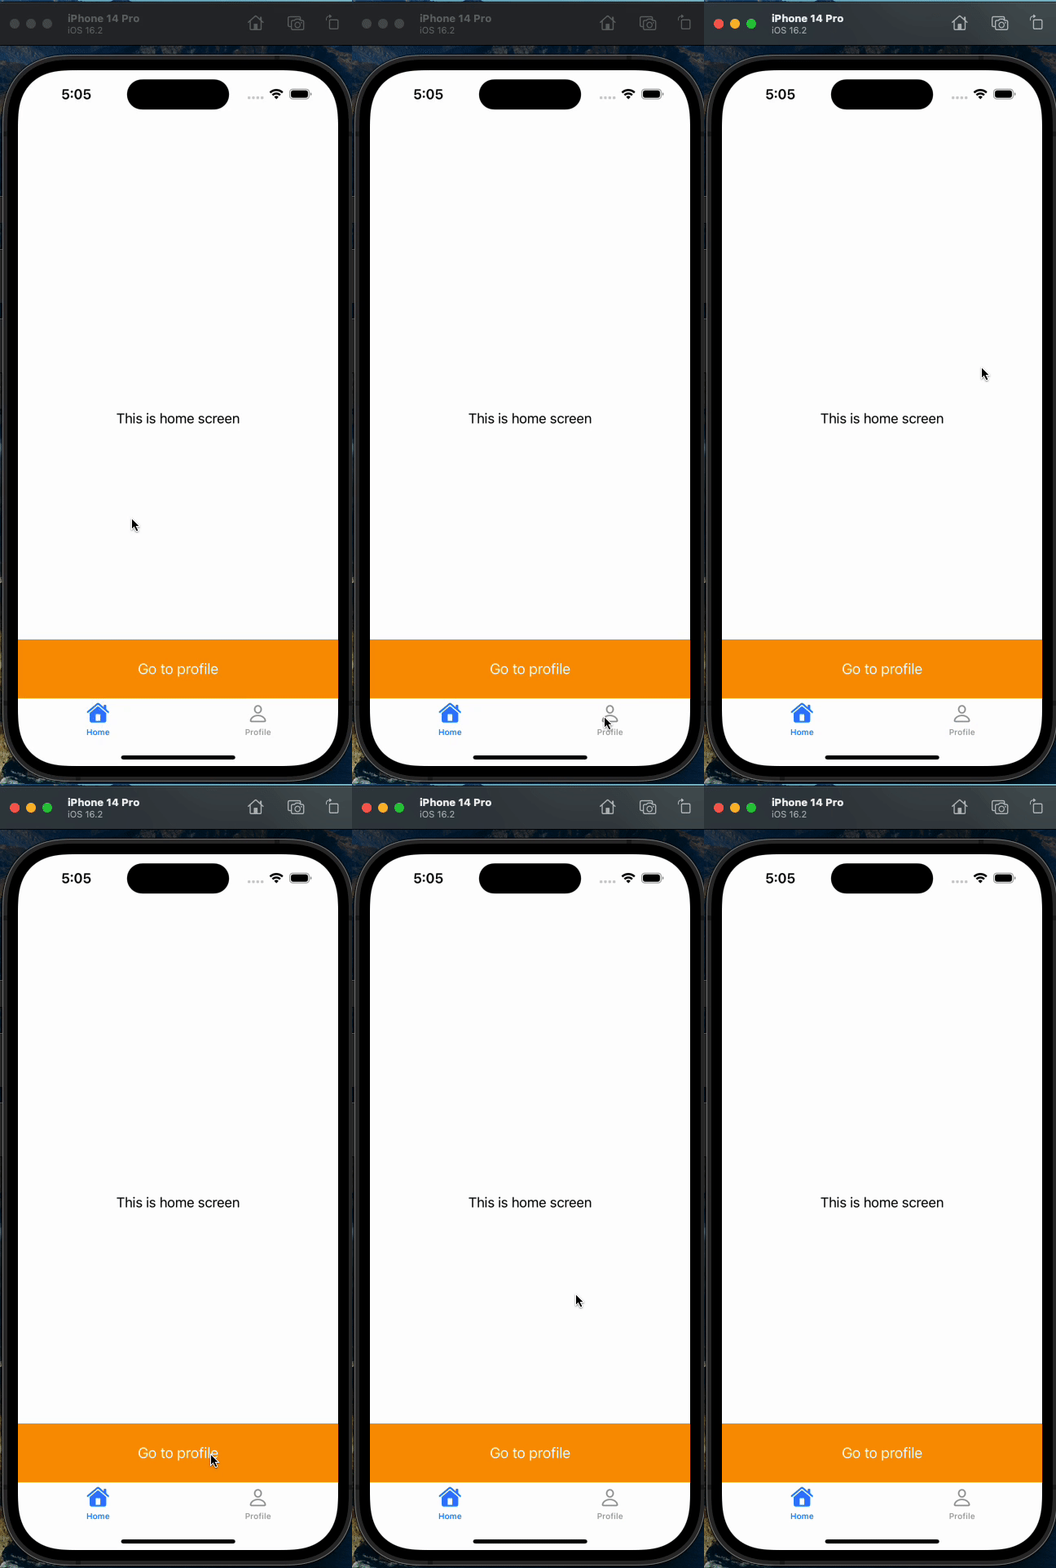
শিরোনাম আর বাটনের অ্যাকশন ছাড়া এই দুটি view controller মূলত একই রকম। দুটিই প্রধানত স্ক্রিনের মাঝখানে একটি লেবেল দেখায়, যেটি বর্তমান স্ক্রিনের নাম বলে। এছাড়া স্ক্রিনের নিচে একটি বাটন থাকে, যা দিয়ে ট্যাব আইটেমগুলোর মধ্যে নেভিগেট করা যায়। এই view controller-গুলোর মূল কাজ এটুকুই।
সর্বশেষ চিত্র
এখন আমাদের কাছে একটি সম্পূর্ণ প্রোগ্রাম্যাটিক অ্যাপ আছে, যেটি tab bar ও navigation controller ব্যবহার করে, একটিও storyboard ছাড়া!
উপসংহার
শেষ কথা হলো, প্রোগ্রাম্যাটিক পদ্ধতি অ্যাপের ডিজাইন আর স্কেলেবিলিটির ওপর বেশি নিয়ন্ত্রণ দেয়, ফলে ডেভেলপাররা শুধু storyboard-এর ওপর নির্ভর না করে প্রোগ্রামিংয়ের দিকে মন দিতে পারেন। বিশেষ করে IBAction/IBOutlet সমস্যার ক্ষেত্রে। IBOutlet ও IBAction ভেরিয়েবল জড়িত কোড রিফ্যাক্টর করার সময় একটি নির্দিষ্ট সমস্যা দেখা দেয়: পরিবর্তনের পরে কানেকশনগুলো আবার জুড়তে হয়। আমার অভিজ্ঞতায়, কোডবেসে কয়েক দিন কাজ করার পরে অ্যাপে কোনো স্পষ্ট কারণ ছাড়াই অপ্রত্যাশিত ক্র্যাশ হতে থাকে। আরও খোঁজ করে দেখলাম, এই ক্র্যাশের কারণ ছিল IBOutlet ও IBAction ভেরিয়েবলের বদলে যাওয়া নাম। প্রতিবার এমন হলে আক্রান্ত ভেরিয়েবলগুলো হাতে হাতে আবার কানেক্ট করে কার্যকারিতা ফিরিয়ে আনতে হতো। এটি সময়সাপেক্ষ আর বিরক্তিকর একটি প্রক্রিয়া, যা ডেভেলপমেন্টের কাজের ধারা ভেঙে দেয়।
পড়ার জন্য ধন্যবাদ!