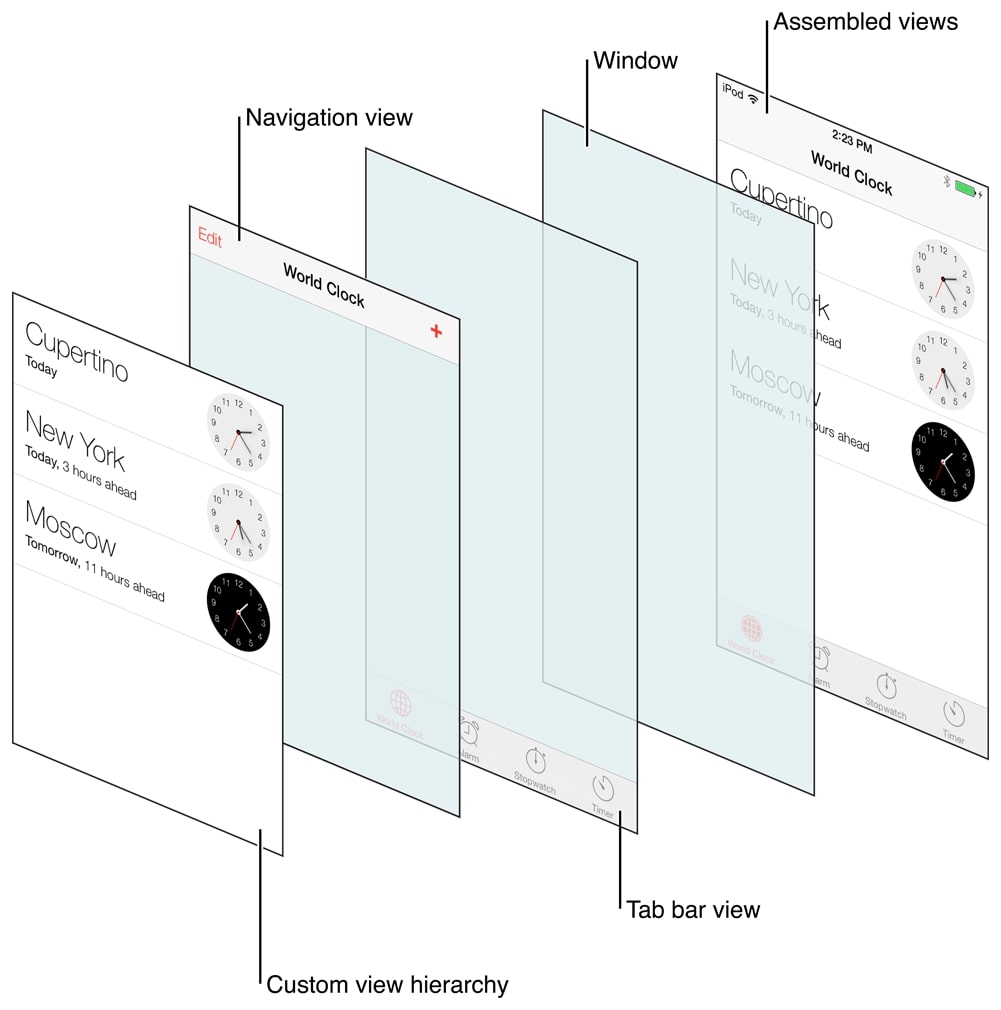
لطالما ملت إلى النهج البرمجي عند تطوير تطبيقات iOS باستخدام UIKit. قد تبدو الـ storyboards مريحة في البداية، لكنها تجعلني أشعر بأنني مصمم أكثر من كوني مبرمجًا. وفوق ذلك، أجد دائمًا أن النهج البرمجي أفضل عندما يتعلق الأمر بقابلية التوسع وسهولة الإدارة.
في هذا المقال سأشرح بالتفصيل كيفية إنشاء tab bar controller مدمج مع navigation controller باستخدام UIKit.
إعداد SceneDelegate
الخطوة الأولى في النهج البرمجي هي تعديل الكود الجذري لتطبيقنا. أسميه "الجذر" لأنه يذكّرني بملف App.js أو index.js في React/React Native. هذا الكود هو نقطة الدخول لتطبيقنا أو للمشهد (scene). في iOS نجد دالة scene داخل الصنف SceneDelegate، وسنستخدمها فقط لإعداد تطبيقنا للتطوير البرمجي.
فيما يلي البنية الافتراضية للصنف SceneDelegate:
    import UIKit

    class SceneDelegate: UIResponder, UIWindowSceneDelegate {

      var window: UIWindow?


      func scene(_ scene: UIScene, willConnectTo session: UISceneSession, options connectionOptions: UIScene.ConnectionOptions) {
        // Use this method to optionally configure and attach the UIWindow `window` to the provided UIWindowScene `scene`.
        // If using a storyboard, the `window` property will automatically be initialized and attached to the scene.
        // This delegate does not imply the connecting scene or session are new (see `application:configurationForConnectingSceneSession` instead).
        guard let _ = (scene as? UIWindowScene) else { return }
      }

      func sceneDidDisconnect(_ scene: UIScene) {
        // Called as the scene is being released by the system.
        // This occurs shortly after the scene enters the background, or when its session is discarded.
        // Release any resources associated with this scene that can be re-created the next time the scene connects.
        // The scene may re-connect later, as its session was not necessarily discarded (see `application:didDiscardSceneSessions` instead).
      }

      func sceneDidBecomeActive(_ scene: UIScene) {
        // Called when the scene has moved from an inactive state to an active state.
        // Use this method to restart any tasks that were paused (or not yet started) when the scene was inactive.
      }

      func sceneWillResignActive(_ scene: UIScene) {
        // Called when the scene will move from an active state to an inactive state.
        // This may occur due to temporary interruptions (ex. an incoming phone call).
      }

      func sceneWillEnterForeground(_ scene: UIScene) {
        // Called as the scene transitions from the background to the foreground.
        // Use this method to undo the changes made on entering the background.
      }

      func sceneDidEnterBackground(_ scene: UIScene) {
        // Called as the scene transitions from the foreground to the background.
        // Use this method to save data, release shared resources, and store enough scene-specific state information
        // to restore the scene back to its current state.
      }
    }
سنحدّث الدالة التالية فقط:
func scene(_ scene: UIScene, willConnectTo session: UISceneSession, options connectionOptions: UIScene.ConnectionOptions) {
    // Use this method to optionally configure and attach the UIWindow `window` to the provided UIWindowScene `scene`.
    // If using a storyboard, the `window` property will automatically be initialized and attached to the scene.
    // This delegate does not imply the connecting scene or session are new (see `application:configurationForConnectingSceneSession` instead).
    guard let _ = (scene as? UIWindowScene) else { return }
  }
تحديث دالة scene في SceneDelegate
في مقتطف الكود التالي نضمن الحصول على windowScene بأمان باستخدام عبارة guard. بعد ذلك نسند هذا الـ windowScene إلى الخاصية window المعرّفة داخل الصنف SceneDelegate. وأخيرًا نستدعي الدالة makeKeyAndVisible لنجعل هذه النافذة هي النافذة الرئيسية (key window).
var window: UIWindow?

func scene(\_ scene: UIScene, willConnectTo session: UISceneSession, options connectionOptions: UIScene.ConnectionOptions) {
guard let windowScene = (scene as? UIWindowScene) else { return }
window?.windowScene = windowScene
window?.makeKeyAndVisible()
}
بعد ذلك لنركّز على إنشاء الـ tab bar controller. هذا الـ controller سيدير الـ view controllers الخاصة بكل تبويب في تطبيقنا. فمثلًا، إذا كان لدينا تبويبان، فسنحتاج إلى navigation controllers منفصلين اثنين. لكن لماذا نختار navigation controllers؟ لأننا نريد أن يكون لكل تبويب navigation controller خاص به. لنأخذ تبويب "Profile" مثالًا. شاشة الملف الشخصي ستكون العرض الرئيسي لهذا التبويب، لكن قد تكون لدينا عروض إضافية داخل التبويب نريد التنقل بينها. لهذا نستخدم navigation controllers لكل عنصر تبويب، فهي توفر ما نحتاجه للتنقل بسلاسة بين الـ view controllers المختلفة داخل التبويب الواحد.
لنكتب الكود!
 func scene(_ scene: UIScene, willConnectTo session: UISceneSession, options connectionOptions: UIScene.ConnectionOptions) {
    guard let windowScene = (scene as? UIWindowScene) else { return }
    window?.windowScene = windowScene
    window?.makeKeyAndVisible()

    let tabbar = UITabBarController()

    let firstVC = UINavigationController(rootViewController: ViewController())
    let secondVC = UINavigationController(rootViewController: SecondViewController())


    firstVC.tabBarItem = UITabBarItem(title: "Home", image: UIImage(systemName: "house"),selectedImage: UIImage(systemName: "house.fill"))

    secondVC.tabBarItem = UITabBarItem(title: "Profile", image: UIImage(systemName: "person"),selectedImage: UIImage(systemName: "person.fill"))

    tabbar.viewControllers = [firstVC, secondVC]

    window?.rootViewController = tabbar

  }
بعد تهيئة الـ tab bar controller ننشئ اثنين من الـ navigation controllers يقابلان عنصري التبويب في تطبيقنا. الـ view controller الأول هو الافتراضي، أما الثاني، واسمه SecondViewController، فسنتناوله في القسم التالي. SecondViewController هو view controller عادي يشبه الافتراضي.
لإعداد عناصر التبويب نضبط الخاصية tabItem لكل navigation controller باستخدام UITabBarItem.
وأخيرًا نسند الـ view controllers التي أنشأناها إلى الخاصية viewControllers في الـ tab bar controller.
أما الخطوة الأهم فهي ضبط الخاصية rootViewController للنافذة لتكون الـ tab bar controller الخاص بنا. هذا يضمن أن يكون الـ tab bar، ومعه الـ navigation controllers داخل كل عنصر تبويب، في أعلى التسلسل الهرمي لتطبيقنا.
الـ View Controllers أثناء العمل
لنلقِ نظرة على الصنف ViewController أدناه:
class ViewController: UIViewController {

    override func viewDidLoad() {
      super.viewDidLoad()
      setupUI()
    }

    func setupUI(){
      view.backgroundColor = .white

      let homeLabel: UILabel = {
        let label = UILabel()
        label.text = "This is home screen"
        label.translatesAutoresizingMaskIntoConstraints = false
        return label
      }()

      let homeButton: UIButton = {
        let button = UIButton()
        button.setTitle("Go to profile", for: .normal)
        button.setTitleColor(.white, for: .normal)
        button.backgroundColor = .systemOrange
        button.translatesAutoresizingMaskIntoConstraints = false
        button.addTarget(self, action: #selector(goToProfile), for: .touchUpInside)
        return button
      }()

      view.addSubview(homeButton)
      view.addSubview(homeLabel)


      NSLayoutConstraint.activate([
        homeButton.bottomAnchor.constraint(equalTo: view.safeAreaLayoutGuide.bottomAnchor),
        homeButton.widthAnchor.constraint(equalTo: view.widthAnchor),
        homeButton.heightAnchor.constraint(equalToConstant: 72),
        homeLabel.centerXAnchor.constraint(equalTo: view.centerXAnchor),
        homeLabel.centerYAnchor.constraint(equalTo: view.centerYAnchor)
      ])

    }

    @objc func goToProfile(){
      tabBarController?.selectedIndex = 1
    }

}
وهذا SecondViewController (أعرف، تسمية سيئة هنا…)

class SecondViewController: UIViewController {
override func viewDidLoad() {
super.viewDidLoad()
setupUI()
}

    func setupUI(){
      view.backgroundColor = .white

      let profileLabel: UILabel = {
        let label = UILabel()
        label.translatesAutoresizingMaskIntoConstraints = false
        label.text = "This is profile screen"
        return label
      }()

      let profileButton: UIButton = {
        let button = UIButton()
        button.setTitle("Go to home", for: .normal)
        button.setTitleColor(.white, for: .normal)
        button.backgroundColor = .systemOrange
        button.translatesAutoresizingMaskIntoConstraints = false
        button.addTarget(self, action: #selector(goToHome), for: .touchUpInside)
        return button
      }()

      view.addSubview(profileButton)
      view.addSubview(profileLabel)

      NSLayoutConstraint.activate([
        homeButton.bottomAnchor.constraint(equalTo: view.safeAreaLayoutGuide.bottomAnchor),
        homeButton.widthAnchor.constraint(equalTo: view.widthAnchor),
        homeButton.heightAnchor.constraint(equalToConstant: 72),
        homeLabel.centerXAnchor.constraint(equalTo: view.centerXAnchor),
        homeLabel.centerYAnchor.constraint(equalTo: view.centerYAnchor)
      ])

    }

    @objc func goToHome(){
      tabBarController?.selectedIndex = 0
    }

}
من الواضح أن الكود متكرر إلى حد ما، لكن يمكن تجاهل ذلك لغرض هذا المقال.
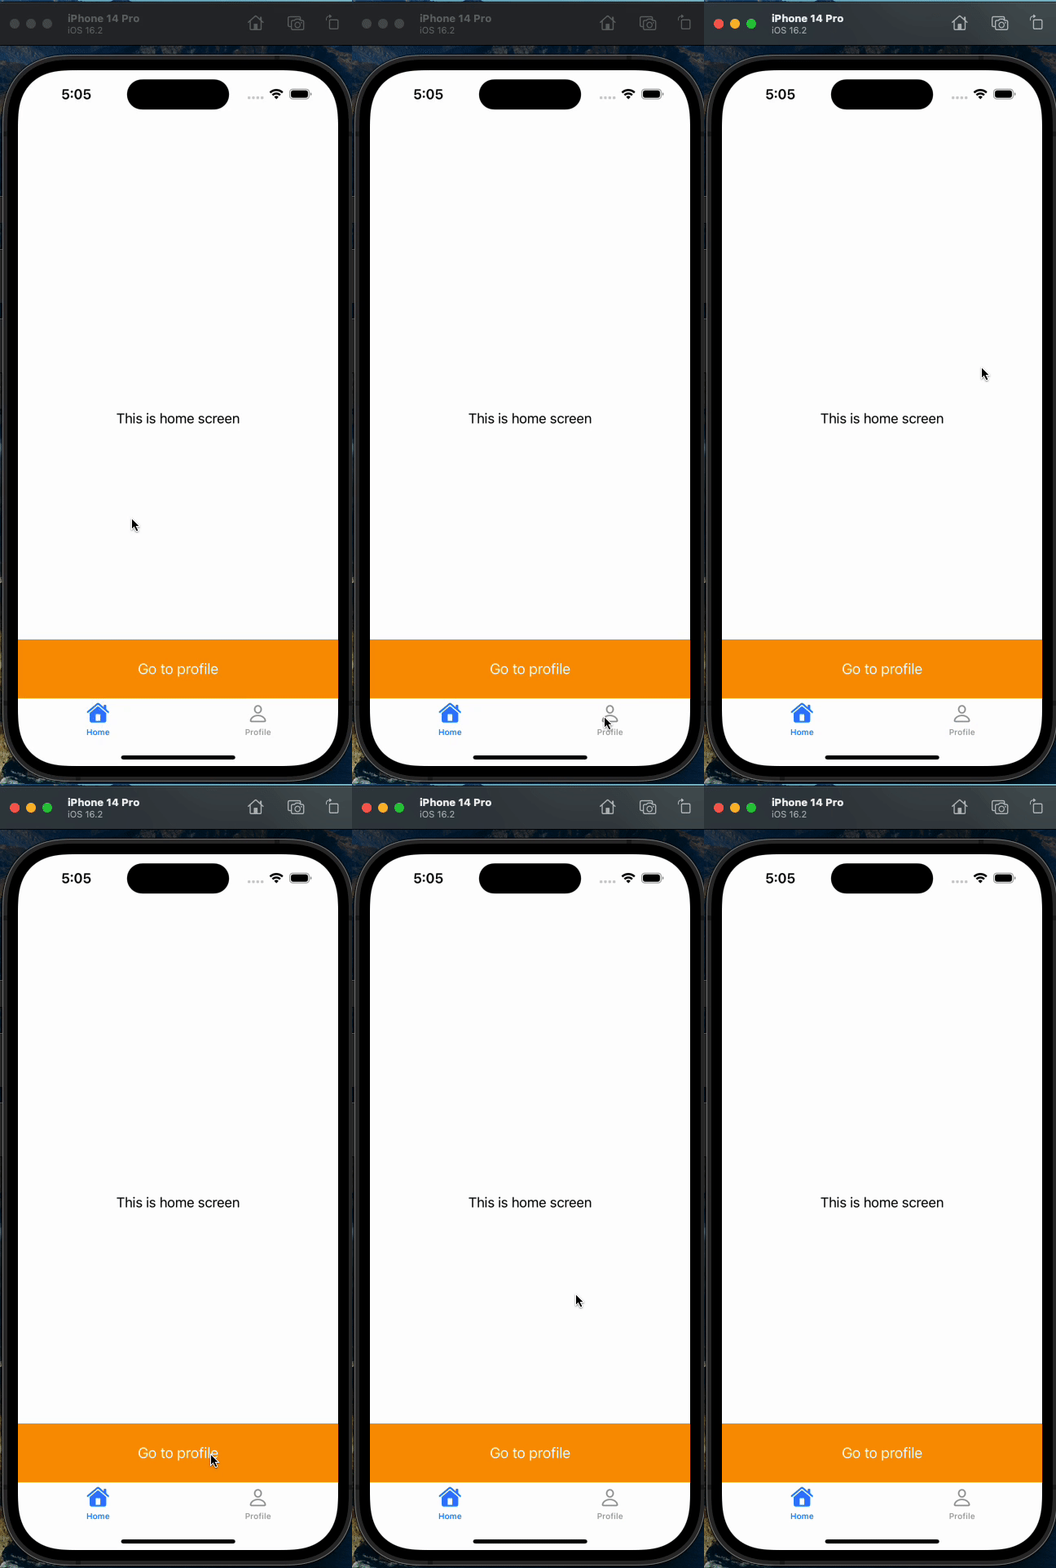
هذان الـ view controllers متطابقان تقريبًا، باستثناء العناوين وإجراءات الأزرار. كلاهما يعرض أساسًا نصًا (label) في منتصف الشاشة يصف اسم الشاشة الحالية. وفيهما أيضًا زر في أسفل الشاشة يتيح التنقل بين عناصر التبويب. هذه هي الوظيفة الأساسية لهذين الـ view controllers باختصار.
الصورة النهائية
لدينا الآن تطبيق برمجي بالكامل يستخدم tab bar وnavigation controller، من دون أي storyboard!
الخلاصة
في الختام، يمنحك النهج البرمجي تحكمًا أكبر في تصميم التطبيق وقابليته للتوسع، ويتيح للمطورين التركيز على جانب البرمجة بدل الاعتماد الكامل على الـ storyboards. وهذا ينطبق تحديدًا على مشكلات IBAction/IBOutlet. من المشكلات التي تظهر عند إعادة هيكلة كود يتضمن متغيرات IBOutlet وIBAction أنك تحتاج إلى إعادة إنشاء الروابط بعد كل تغيير. من تجربتي، بعد بضعة أيام من العمل على الكود، واجهت أعطالًا مفاجئة في التطبيق من دون أي تفسير واضح. وعندما تعمقت في البحث اكتشفت أن سبب هذه الأعطال هو تغيير أسماء متغيرات IBOutlet وIBAction. وفي كل مرة حدث فيها ذلك كان عليّ أن أعيد ربط المتغيرات المتأثرة يدويًا لتعود إلى العمل. قد تكون هذه عملية مرهقة ومستهلكة للوقت، وتقطع سير العمل في التطوير.
شكرًا على القراءة!